It’s like that with our energy bills, too. Eighty-nine percent of us think we’re not using as much energy as we did five years ago, and almost one-half of us think our homes are energy efficient. But 59% also say our energy bills have gone up, according to consumer research by the Shelton Group, a marketing and advertising agency that specializes in energy-efficiency issues.
Call that the Snackwell’s effect, says Shelton Group CEO Suzanne Shelton. Basically, we’re saying, “I bought these CFLs so now I can leave the lights on and not pay more. I bought a high-efficiency washer and dryer because I want to do more laundry without paying more. I ate the salad, so I can have the chocolate cake.”
Unfortunately, that disconnect has led to defeat. We feel victimized by our energy bills and powerless to the point where we’re making fewer energy-efficient improvements. In fact, Shelton’s research shows consumers made only 2.6 improvements in 2012 compared with 4.6 in 2010.
Until the day we all get energy dashboards in our home, we’re here to help you understand
why your energy costs are where they are and
how you can take back your energy bills.
Hint: You need to do four or five energy-efficient things to see a difference; one or two won’t cut it. But — good news! — they don’t cost much to do.
 Related: Are Smart Meters Dangerous?
Why Do We Feel Victimized?
We don’t know what we’re buying.
Related: Are Smart Meters Dangerous?
Why Do We Feel Victimized?
We don’t know what we’re buying. Energy is the only product we buy on a daily basis for which we have no idea how much we pay until a month later, says Cliff Majersik, executive director of the Institute for Market Transformation, a research and policy-making nonprofit focused on improving buildings’ energy efficiency.
Energy costs are going up. Inflation is mainly to blame. Your bills are projected to rise on average 2% per year through 2040, according to the U.S. Energy Information Administration (EIA), the research arm of the energy department. Expect about 3.4% per year if the economy gets sluggish.
Other trends pushing up our energy usage:
- A growing population means more homes.
- New homes are getting bigger, though our families are getting smaller, according to the Census Bureau.
- We’re plugging in more devices (computers, smart phones, tablets, X-boxes, plasma TVs) per household — and not unplugging them. (More on behavior later.)
In fact, for the first time, energy use for appliances, electronics, water heating, and lighting accounts for more than heating and cooling, according to EIA.
Still, overall consumption is pretty flat through 2040, thanks in part to:
- Population migration to dryer, warmer climates in the South and West.
- People living in multifamily rather than single-family situations.
We make assumptions.
Assumption #1. Unless a home is old — more than 30 years — we figure it was built to code, which requires a certain amount of energy efficiency. But building codes change pretty regularly, so even newer homes benefit from improvements, says Lee Ann Head, vice president of research and insights with the Shelton Group.
Assumption #2. We think utilities are out to get us: They’ll jack up prices no matter what we do. Shelton’s research shows consumers blame utilities above oil companies and the government. But keep this mind: To get rate changes, utilities must make a formal case to public utility commissions. They’re also on the hook to pay for such things as:
- Infrastructure upgrades put off for years
- Equipment repairs after bouts of nutty weather
Another reason rates seem stuck is because utilities bundle fuel, service, and delivery fees together.
Assumption #3. Our expectations for energy savings are out of whack. When the Shelton Group asked consumers what they would expect to recoup if they invested $4,000 in energy-efficient home improvements, they said about 75% to 80%.
Sorry, unless you invest in some kind of renewable energy source like
geothermal and
solar, you won’t see that kind of savings. If you do all the right things (we’ll tell you about the best five later), you could expect a 20% to 30% reduction, Head says, particularly if you don’t succumb to the Snackwell’s effect.
What does 30% translate into? $660 in savings per year or $55 per month, based on the average household energy spend of $2,200 per year, according to the U.S. Department of Energy (DOE).
Assumption #4. Many of us don’t know how to make the biggest impact on our homes. That’s why we sometimes replace our windows first, when that should probably be fifth or sixth on the list of energy-efficient improvements, Shelton says.
There’s nothing wrong with
investing in new windows. They feel sturdier; look pretty; increase the value of your home; feel safer than old, crooked windows; and, yes, offer energy savings you can feel (no more draft).
But if you spend $9,000 to $12,000 on windows and save 7% to 15% on your energy bill, according to DOE data, when you could have spent around $1,000 for new insulation, caulking, and sealing, and saved 10% to 20% on your energy bill, you made the wrong choice if your only reason for the project was reducing energy costs.
The real reasons for getting new windows are “emotional rather than financial,” Shelton says.
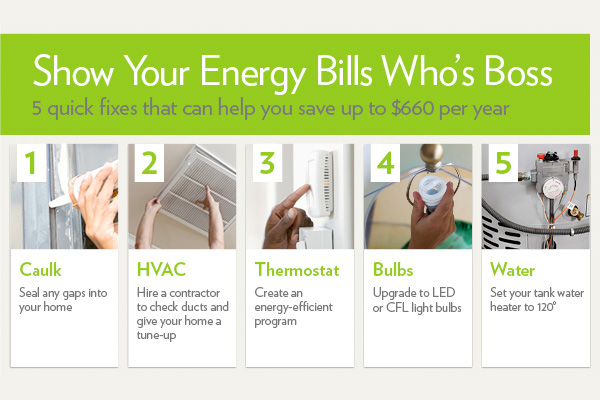
The 5 Things You Should Do to Show Your Bills Who’s Boss
1. Caulk and seal air leaks. Buy a few cans of Great Stuff and knock yourself out over a weekend, sealing penetrations into your home from:
Savings: Up to $220 per year, says EPA
Related: The Biggest Air Leak in Your Home You Don’t Know About
2. Hire an HVAC contractor to take a hard look at all your ductwork — are there any
ducts leaking that need to be resealed? — and give you an
HVAC tune-up.
Savings: Up to $330 per year, for duct sealing and tune up, says DOE
3. Program your thermostat. Shelton found that 40% of consumers in her survey admit to not programming their thermostat to energy-saving settings. She thinks it’s even higher.
Savings: Up to $180 per year, says EPA
Related: How to Program Your Thermostat to See Real Savings
4. Replace all your light bulbs with LEDs or CFLs. We suggest LEDs, which have fewer issues than CFLs (namely, no mercury), and although expensive are coming down in price. We’ve even seen a $10 model.
Savings: $75 per year by replacing your five most frequently-used bulbs with Energy Star-rated models, says EPA.
Related: Guide to Buying Light Bulbs and Which to Use Where
5. Reduce the temperature on your water heater. Set your tank heater to 120 degrees — not the 140 degrees most are set to out of the box. Dropping 20 degrees could save 6% to 10% on your annual water heating costs, which are 14% to 18% of your utility bills. Also wrap an older water heater and the hot water pipes in insulating material to save on heat loss.
Savings: $18 to $39 per year
Important note: Resist the urge to total these numbers for an annual savings. The estimated savings for each product or activity can’t be summed because of “interactive effects,” says DOE. If you first replace your central AC with a more efficient one, saving, say, 15% on energy consumption, and then seal ducts, you wouldn’t save as much total energy on duct sealing as you would have if you had first sealed them. There’s just less energy to save at that point.
But these practices can help you achieve the goal of shaving 20% to 30% of your annual bill ($440 to $660).
Energy Savings is Addictive. What Else Can We Do?
If you want to go further and spend more, especially if you’re not planning to sell your home soon:
- Add insulation. Anything you can do to shore up your building envelope is good.
- If major appliances like your HVAC and water heater are nearing the end of their useful life, research energy-efficient replacements and keep the info where you’ll remember. Otherwise, you’ll make a reactive purchase when the unit finally breaks.
- Contact your utility about rebates for investing in improvements. Or visit DSIRE, a database of federal, state, local, and utility rebates searchable by state. Energy Star has a discount and rebate finder, too.
A Final Word: Oh, Behave!
Remember the Snackwell’s effect? If your behavior — unplugging chargeable devices from the socket when they’re done charging; putting computers, TVs, and media on smart strips and turning them off at once; reprogramming your thermostat at daylight savings time — doesn’t support your improvements, you’re letting energy, an invisible product, win.
Related:


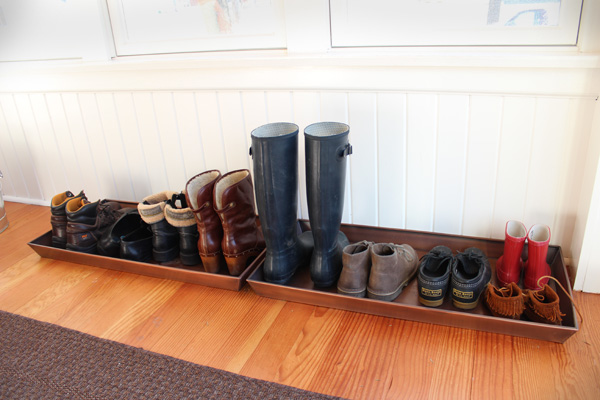 Boot trays by the front door keep wet footwear from soaking your floors. Image: Helen
 Image: A Little Wife’s Happy Life
 Image: Jess McGurn
 Image: Liz Foreman for HouseLogic
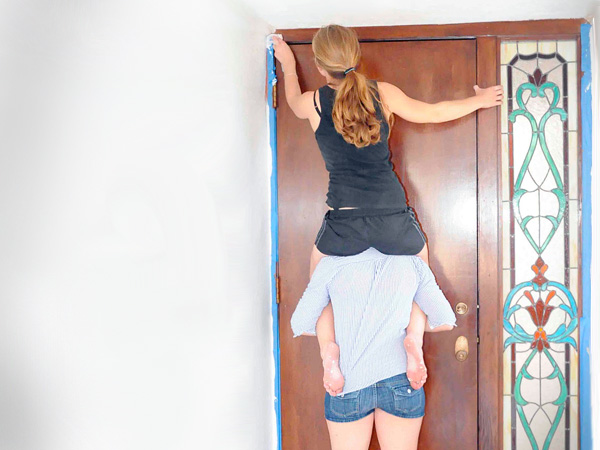 Image: Daniela Mellen
 Image: Audrey Fish Pfeifer
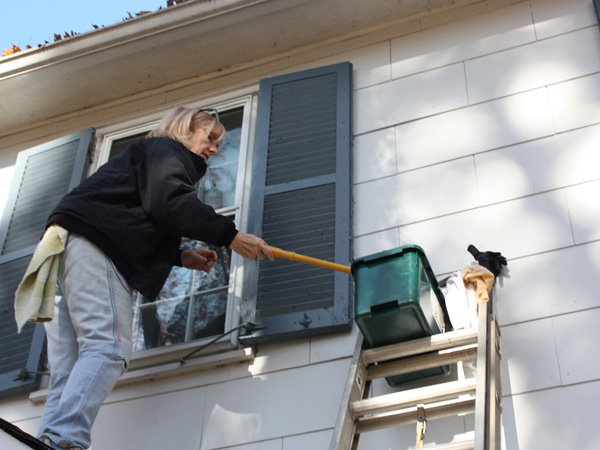 Image: Jo @ Let’s Face the Music
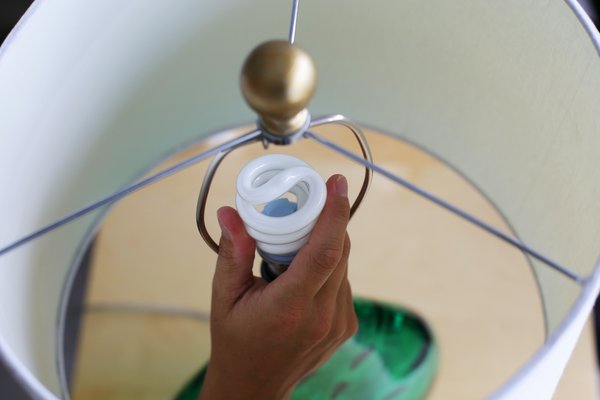 Switching out your five most frequently-used bulbs with Energy Star-rated models will save you $75 per year, according to the EPA.
 Christina Hoffmann has been an editor in the housing field for two decades — most recently as content manager for HouseLogic. She’s given her 100-year-old frame home the attention it deserves: new kitchen, siding, HVAC, windows, and doors. She’s betting the roof is next. Follow Christina on Google+ and Twitter.


