
You know a fresh coat of paint can give any room a quick and inexpensive facelift. But did you know that a little paint can also perk up carpets, appliances, and even vinyl floors?
Basically, if it doesn’t move, you can
paint it. But only after you’ve paid special attention to prep — cleaning, patching, and sanding (generally) the area.
Painting isn’t brain surgery, but it’s not a breeze, either. Here are some rules of thumb:
- Prime before painting. Primer will allow the paint to adhere better.
- Most hard surfaces will take primer better if they’re roughed up a little with fine-grade sandpaper.
- When using spray paint, multiple, thin layers are better than one, thick coat. Ease up on your trigger finger, and spray in short bursts.
- Wait for the previous coat of paint or primer to dry completely before adding another coat.
With proper prep, you can paint just about anything. Here are seven of our favorite ideas:
1. Door, Drawer, and Cabinet Hardware
Spray paint can turn builder-grade brass locks and hinges into fashion-forward hardware with an oil-rubbed bronze, pewter, or stainless look.
Prep:
1. Clean hardware with a fine steel wool to remove grease and grime.
2. Rough up the surface with fine-grain sandpaper.
3. Before you paint, insert a tiny strip of painter’s tape into the keyhole to make sure paint doesn’t gunk it up.
4. Prime with a metallic primer, then paint with metallic spray paint.
Tip:
- Insert the door lock’s spindle into a square of Styrofoam, which will hold it upright while you spray around the knob.
Related: Get Tips on Repairing Knobs and Pulls
2. Brick Fireplace
When you paint your red brick fireplace, you transform the entire room. But beware! Once you paint brick, it’s nearly impossible to return it to the original brick color.
You can paint brick a single color, or achieve some variation — like the variations in real brick — by sponging on slightly lighter and darker hues.
Prep:
1. Lightly sand away any loose bits of brick or mortar with 120-grit sandpaper.
2. Clean dirt and soot with a wire brush and heavy-duty cleanser.
3. Allow to dry completely before applying an oil-based, stain-blocking primer.
4. Paint with a semigloss latex.
Tips:
- Brick is porous and drinks paint, so buy twice what you think you’ll need.
- Wear safety glasses and gloves when cleaning anything with a metal brush.
Related: 4 Value-Adding Fireplace Facelifts
3. Ceramic Tile
Imagine how sweet it is to update ceramic tile without having to bust up and cart away tons of old tile.
Play it safe and avoid painting tiles in high-traffic and high-moisture areas. Some good places are laundry room floors, backsplashes under cabinets (but not above ranges where pasta sauce splatters), and walls around tubs you rarely use.
Prep:
1. Repair cracked or chipped tile with caulk or grout before painting.
2. Give patching material ample time to dry, then lightly sand before applying an epoxy or urethane bonding primer.
3. Sand after priming and between each coat of quality latex paint.
4. Wait several days for the paint to cure completely, then seal with two or three coats of clear, water-based polyurethane.
Tips:
- To get a smooth look, apply paint in zigzags, then roll down in one, smooth motion.
- Use 240-grit wet/dry sandpaper for prep and between coats.
- Don’t forget safety goggles and masks when sanding tiles.
Related: Glass Tile and Ceramic Tile Bathroom Flooring: Unlimited Designs
4. Wood Floors
When wood floors are beyond another refinishing, painting can give them a second life — and give you a chance to add a personal touch to your home.
Prep:
1. Slightly sand the surface so your primer will adhere better. No need to sand down to the wood; even roughing up the seal coat will help the primer adhere better.
2. Vacuum and mop with a damp cloth to remove all the dust — nothing ruins a paint job faster than dust.
3. Tint your primer to reduce the number of coats you’ll need of latex enamel floor paint.
Tips:
- Before you commit to a paint color, paint a large piece of foam board with a sample of your desired color and put it on the floor to give you a good idea what the finished floor will look like.
- It takes each coat about 24 hours to dry completely. So don’t jump the gun when applying the next, thin coat.
- Your painted floor won’t completely cure for almost a month, so hold off on moving back heavy things like pianos and chests of drawers.
- Protect your painted floor by putting mats down at the sink (wood and paint hate water) and high-traffic entryways.
5. Carpet
We love the idea of covering stains and reviving a carpet with upholstery paint. It saves hundreds of dollars and the hassle of getting rid of an old carpet.
Kathie Smula of Spray It New upholstery paint says carpets with a short pile are the best candidates for painting; long-pile carpets become hard and matted when painted.
Prep:
1. Thoroughly clean the carpet before painting. You don’t have to steam clean it, but scrub up the worst stains and vacuum so dust and dirt don’t mix with the paint.
2. Skip priming and just spray paint two or three coats, depending on how deep you want the color. Make sure it’s dry to the touch before spraying another coat.
Tips:
- Don’t confuse upholstery paint, good for carpets, with fabric paint, good for T-shirts.
- If you get heavy handed and paint clumps, loosen the area with a bristle brush and dab up excess paint.
- Six cans of spray paint will cover an 8-foot-by-10-foot carpet with at least two coats.
Related: Carpet or Hardwood? 5 Good Reasons to Give Carpet a Chance
6. Vinyl Floors
Painting is an inexpensive way to get a few more years out of old vinyl floors in kitchens and laundry rooms.
Prep:
1. Wash the floor with a TSP (tri-sodium phosphate) solution to get rid of built-up dirt and grime.
2. Rough up the shiny surface with 180-grit sandpaper. If some nooks and crannies remain glossy, apply a deglosser (paint stores sell it) to remove shine.
3. Prime with a latex primer.
4. Paint with a porch/floor paint.
Tips:
- Save your back when sanding floors by using a sanding pole, like the ones drywall installers use.
- Highly textured vinyl floor may require another sanding and a second coat of primer.
Related: Frugal Fixes for Frightful Floors
7. Appliances
Heat-resistant appliance paint will perk up your kitchen. Use an indoor appliance paint to change colors, or a liquid stainless steel application to give your appliance the stainless steel look.
Use a roller for small touchups; two or three thin coats of spray paint is better for total appliance coverage.
Prep:
1. Clean appliance exteriors with a heavy-duty cleaning solution and, if needed, a scrubbing pad.
2. Remove handles and hardware; place painters tape over trim and logos.
3. Sand the exterior.
Tips:
- Make sure the front of your appliance is metal, not plastic. Plastic exteriors will require priming, while appliance paint will stick more easily to metal exteriors.
- If you’re spray-painting, haul the appliance outdoors to avoid getting paint on cabinets and floors. If you paint indoors, open windows to assure proper ventilation.
- For the stainless look, Liquid Stainless Steel is the go-to product. It’s got real flakes of stainless steel. Apply with a brush.
 Lisa Kaplan Gordon
 is an avid gardener, a member of the Fairfax County Master Gardeners Association, and a builder of luxury homes in McLean, Va. She’s been a Homes editor for Gannett News Service and has reviewed home improvement products for AOL.
Follow Lisa on Google+.
Read more: http://www.houselogic.com/home-advice/painting/painting-ideas-to-save-money/#ixzz3ZfaQYG8V
Follow us: @HouseLogic on Twitter | HouseLogic on Facebook


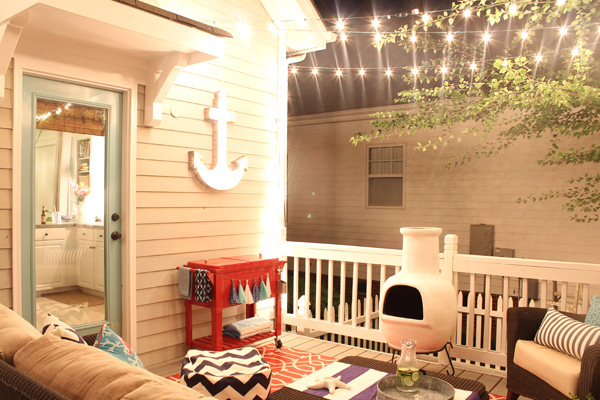
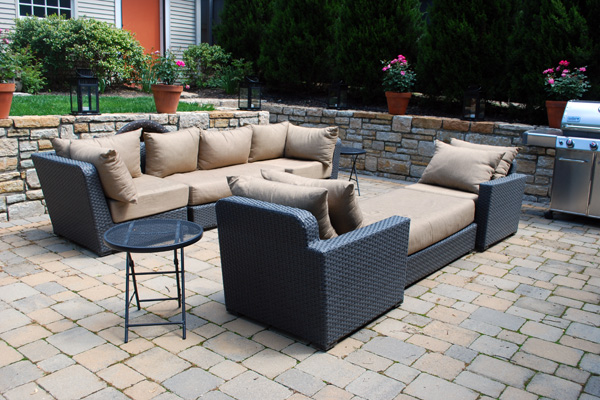
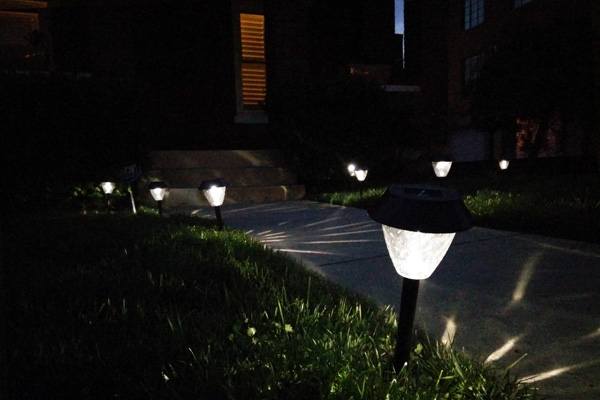 Image: Liz Foreman for HouseLogicWhen the sun goes down, don’t be left groping for your wine glass. Outdoor lighting dresses up your home’s marketability and appeal (exterior lighting is buyers’ most wanted outdoor feature, according to the NAHB study), makes it safer, and lets you spend more time outside.
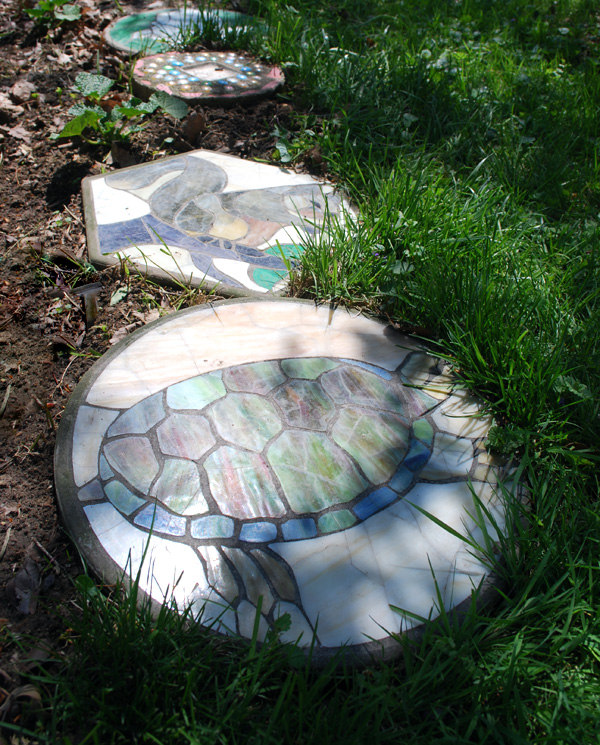 Image: Liz Foreman for HouseLogicLet your style dominate your backyard space.
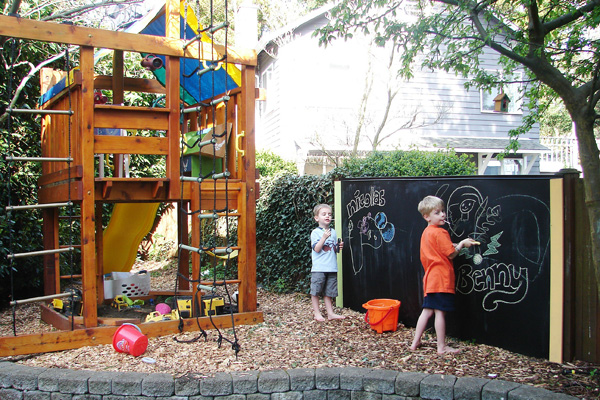 Image: Tasya Demers from My House and Home
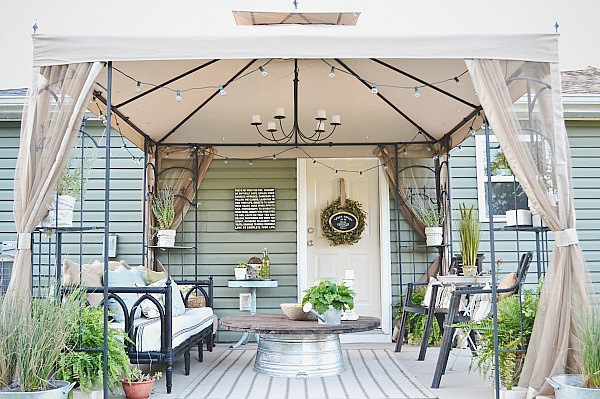


 Layers of wet newspaper, buried under mulch, will smother weeds and prevent new ones from growing. Image: Jami Scholl/My Edible Eden
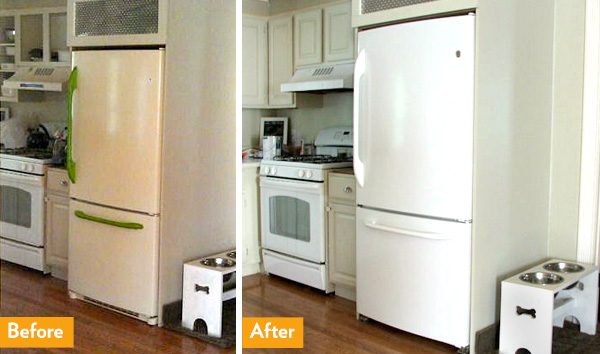 When her not-so-old fridge started looking yellow, blogger Dria decided to give appliance paint a try. She loves the result, which she says has the same glossy shine and feeling of the original factory finish. Image: DIO Home Improvements


