Why? We’re about to shut ourselves inside for months with all the dirt and grime our houses have gathered during those hot, dusty, open-window days of summer and fall. We’ll be living with indoor air quality that the EPA estimates could be five times more polluted than outdoor air.
But you can breathe easy — we’ve made up a checklist of must-do cleaning jobs that’ll get the dust out, spruce up your interiors for the coming holidays, and make those wintry days healthier — and safer — for you and your family.
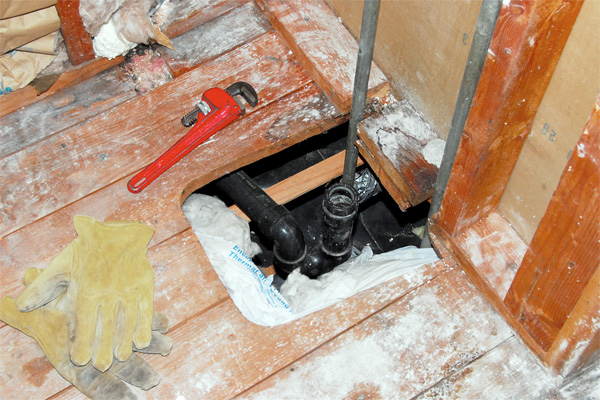
Vacuum Dryer VentThis little chore should definitely be on your list. It prevents lint build-up that can create a fire hazard.
Pull out the dryer as far as the vent pipe allows. Disconnect the vent pipe from the dryer, and clean the outlet hole in the back of the dryer with a shop vac or regular vacuum.
Clean the vent pipe with a dryer snake cleaning tool ($15 to $20). This is a rotary brush attached to a long cable. One end is fitted to the chuck of an electric drill that is used to rotate the cable and the brush.
1. Unscrew the exterior dryer vent cover
2. Feed the rotary brush into the vent opening, turning it on low speed
3. Feed the cable into the vent as far as it will go, then pull it back — don’t stop rotating the cable and brush
4. Repeat from the inside
5. Reconnect the vent, and turn on the dryer to flush the system of loose lint
6. Replace the exterior vent cover
Don’t use this tool on the flexible vent pipe sometimes used to connect the dryer to the vent wall outlet. Instead, remove the flexible pipe completely and use a vacuum with a narrow nozzle to clean out the pipe.
Related: How to Care for Your Washer and DryerWash and Disinfect Garbage Cans and Wastebaskets
 Image: A Little Wife’s Happy Life
You’re going to be shut in all winter with these little germ havens, so now’s a good time to clean them thoroughly. Take them outside where you can blast the insides with a garden hose, then add disinfectant.
Regular bleach is an effective disinfectant (one part bleach to six parts water) but we much prefer environmentally safe undiluted
hydrogen peroxide or vinegar mixed 50/50 with water. Caution! Don’t mix hydrogen peroxide with vinegar — the result is harmful peracetic acid.
Let the garbage cans sit for an hour, then pour out the contents and scrub the insides with a stiff bristle brush to remove any residue. Rinse and, if possible, let the wastebasket dry in direct sunlight, which helps eliminate bacteria.
Wash and Disinfect Toilet Brush HoldersTake the holder and the brush outside, and spray wash thoroughly with a garden hose. Immerse the holder and brush in a bucket of hot water mixed with one of these solutions:
- 1 part bleach to 6 parts water
- 2 to 3 cups of environmentally friendly washing soda crystals
- A 50/50 mixture of vinegar and water
Let everything sit in the solution for a couple of hours, then rinse the holder and brush with a hose and place in direct sunlight to dry.
Turn Over Furniture and Vacuum the Bottoms
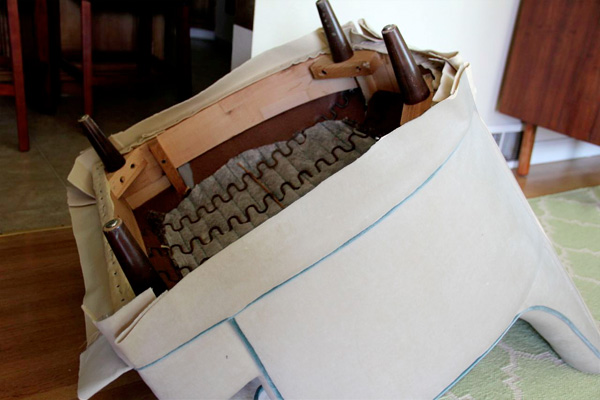 Image: Jess McGurn
You might shift furniture around so you can vacuum the floor, but there’s another side to the story — the underside.
Tilt upholstered chairs and couches all the way back (much easier with two people) to expose the bottoms. The dust covers tacked underneath furniture can catch dreck and dust bunnies, so vacuum them off, being careful not to press too hard on the fabric.
Change Furnace Filters
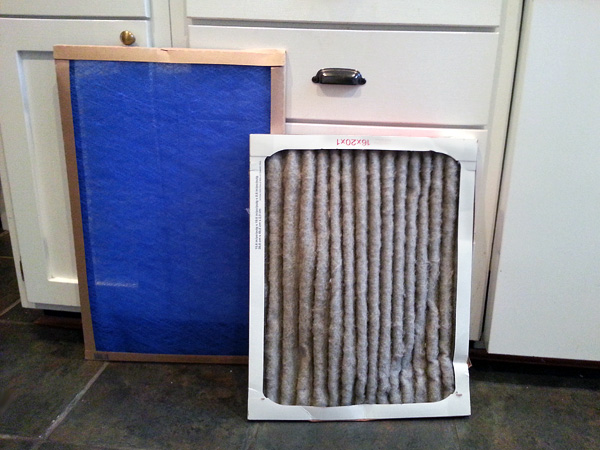 Image: Liz Foreman for HouseLogic
You’ve heard it before, but change your
HVAC filters! These dust-catching wonders keep particulates out of your air, making it easier on your floors, furniture, HVAC system, and lungs. Change at least every 60 days.
Air filters for furnaces are rated by level of efficiency. The higher the rating, the better the filter is at removing dirt, mold spores, and pet dander.
Filters are rated one of two ways (you’ll see the ratings on the packaging); higher numbers mean better efficiency, but there’s a point of diminishing returns — some filters with extremely high ratings also restrict air flow, making your HVAC work so hard that the system heats and cools inefficiently.
- Minimum efficiency rating values (MERV) for filters range from 1 to 16, but 7 to 13 is typical for households (14 and up are used in hospitals)
- Microparticle performance rating (MPR) range from 300 to 2400
Cheap filters cost about $2, but you’re better off paying $12 to $17 for a pleated filter with a 1250 MPR, or $20 to $25 for a filter rated 2400.
Clean the Tops of Doors, Trim, and Artwork
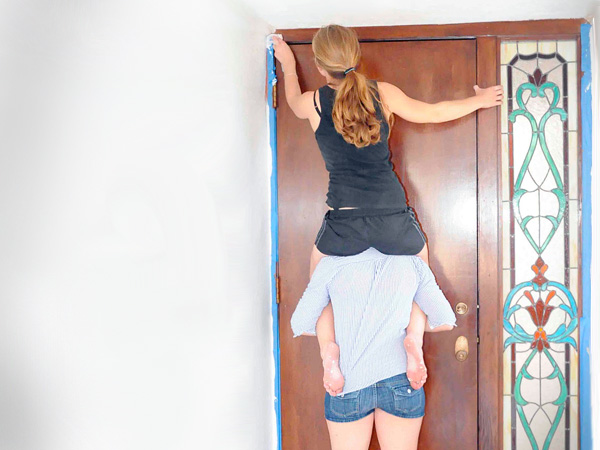 Image: Daniela Mellen
Tables and countertops aren’t the only household items with horizontal surfaces. In fact, just about everything in your house except Rover’s tennis ball has some kind of horizontal surface where dust and dirt will nestle, often unnoticed. You’ll want to clean the top horizontal edges of:
- Trim, including baseboards and chair rails
- Wall-mounted smoke detectors, CO detectors, and thermostats
Vacuum Behind the Fridge
If we’ve told you once…
OK, you get it. Your fridge needs to be cleaned periodically so that it operates at peak efficiency. Ignore this chore and face another $5 to $10 per month in utility costs. Worst case: a visit from an appliance repair pro who’ll charge $75 to $150 per hour!
The object is to clean the condenser coils. Here’s how:
If the condenser coils are on the bottom of the fridge, then you’ll need to clean them from the front of the unit.
- Take off the bottom faceplate to expose the coils.
- Clean dust using a condenser-cleaning brush ($8) or a long, thin vacuum attachment made for cleaning under refrigerators ($14).
You still should pull your refrigerator all the way out and vacuum up dirt and dust that accumulates in back of the unit. Unplug it while you work on it.
Put down a piece of cardboard so that grit under the wheels doesn’t scratch your flooring.
If the condenser coils are on the back of the refrigerator, then pull the unit out completely, and unplug it while you work on it.
- Brush or vacuum the coils to clean them, and clean up any dirt and dust on the floor.
While you’re at it, check to make sure your freezer vents are clear. Freezers circulate air to reduce frost, but piling up too much stuff in front of the little grill-like vents inside your freezer blocks their business.
Related: How to Care for Your FridgeWinterize Your Entry
- Get a boot scraper ($19 to $35)
- Add a chair or bench for taking off boots, and have a boot rack for wet footwear
- Put down a tough coir outdoor doormat ($30 to $190) for cleaning footwear
- 1/4 to 1/2 teaspoon eco-friendly dish detergent
Wipe clean and polish using microfiber cloths.
Clean Ceiling Fan BladesThose big blades on your ceiling fan are great at moving air, but when they’re idle they’re big dust magnets — dust settles on the top surfaces where you can’t see it.
Out of sight maybe, but not out of mind. Here’s an easy way to clean them: Take an old pillowcase and gently cover a blade. Pull it back slowly to remove the dust. The dust stays inside the pillowcase, which prevents dust from flying all over.
Related: How to Keep Things Cleaner Longer


 John Riha


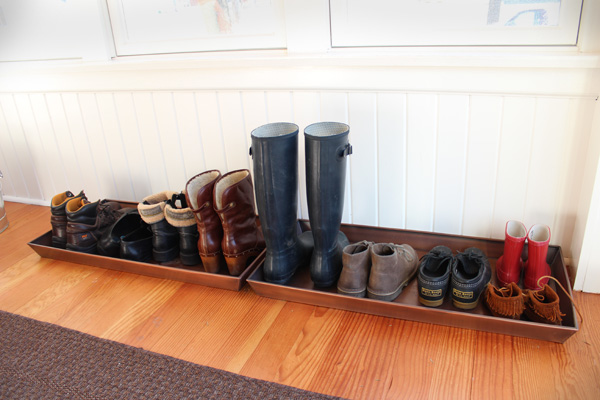
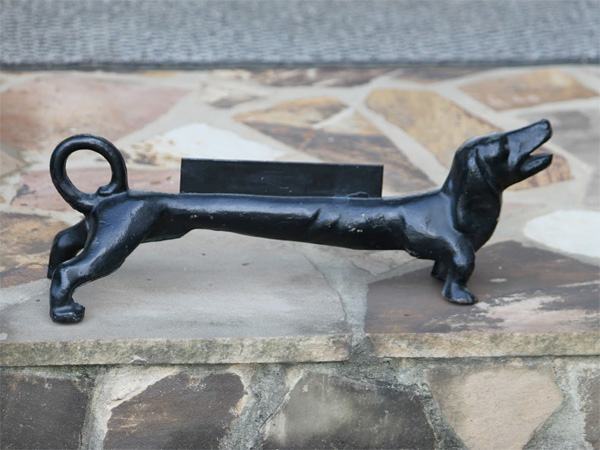 Image: Audrey Fish Pfeifer
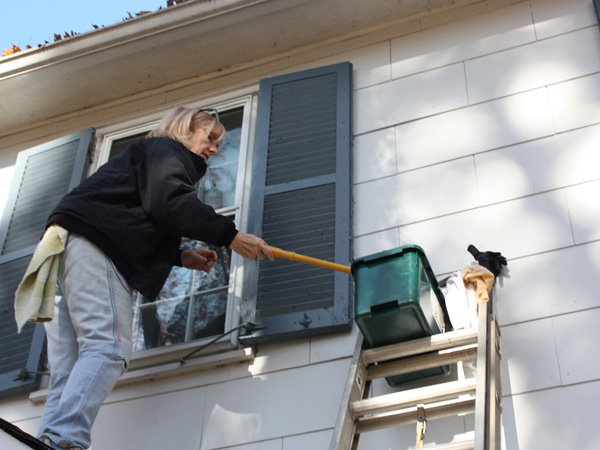 Image: Jo @ Let’s Face the Music


